How to Make a Table – DIY Guide
Building a table is a great way to create a sturdy and helpful piece of furniture. A well-made table will last for years, whether for dining, outdoor gatherings, or a workspace. This simple guide from Truss Builder Parts will help you build a strong wooden table step by step.
- Get Your Materials and Tools
Before you start, gather all the materials you need. The type of wood you use will affect the strength and longevity of the table. Hardwood and pressure-treated wood are good choices because they handle wear and weather well.
Materials You Need:
- (6) 2 x 8 x 8 boards for the tabletop
- (4) 2 x 6 x 8 boards for the legs and side supports
- (3) 2 x 4 x 8 boards for braces and cleats
- 1/4″ wood spacers
- 16 galvanized carriage bolts (1/2″ x 3-1/2″) with washers & nuts
- (1 lb.) 2-1/2″ self-tapping screws (countersinking)
- (1 lb.) 3-1/2″ self-tapping, self-countersinking screws
- Wood glue
- Exterior stain (optional)
Tools You Need:
- Power drill with 1/2″ and 1/8″ drill bits
- Circular saw or miter saw
- Speed square & carpenter square
- 3/4″ wrench
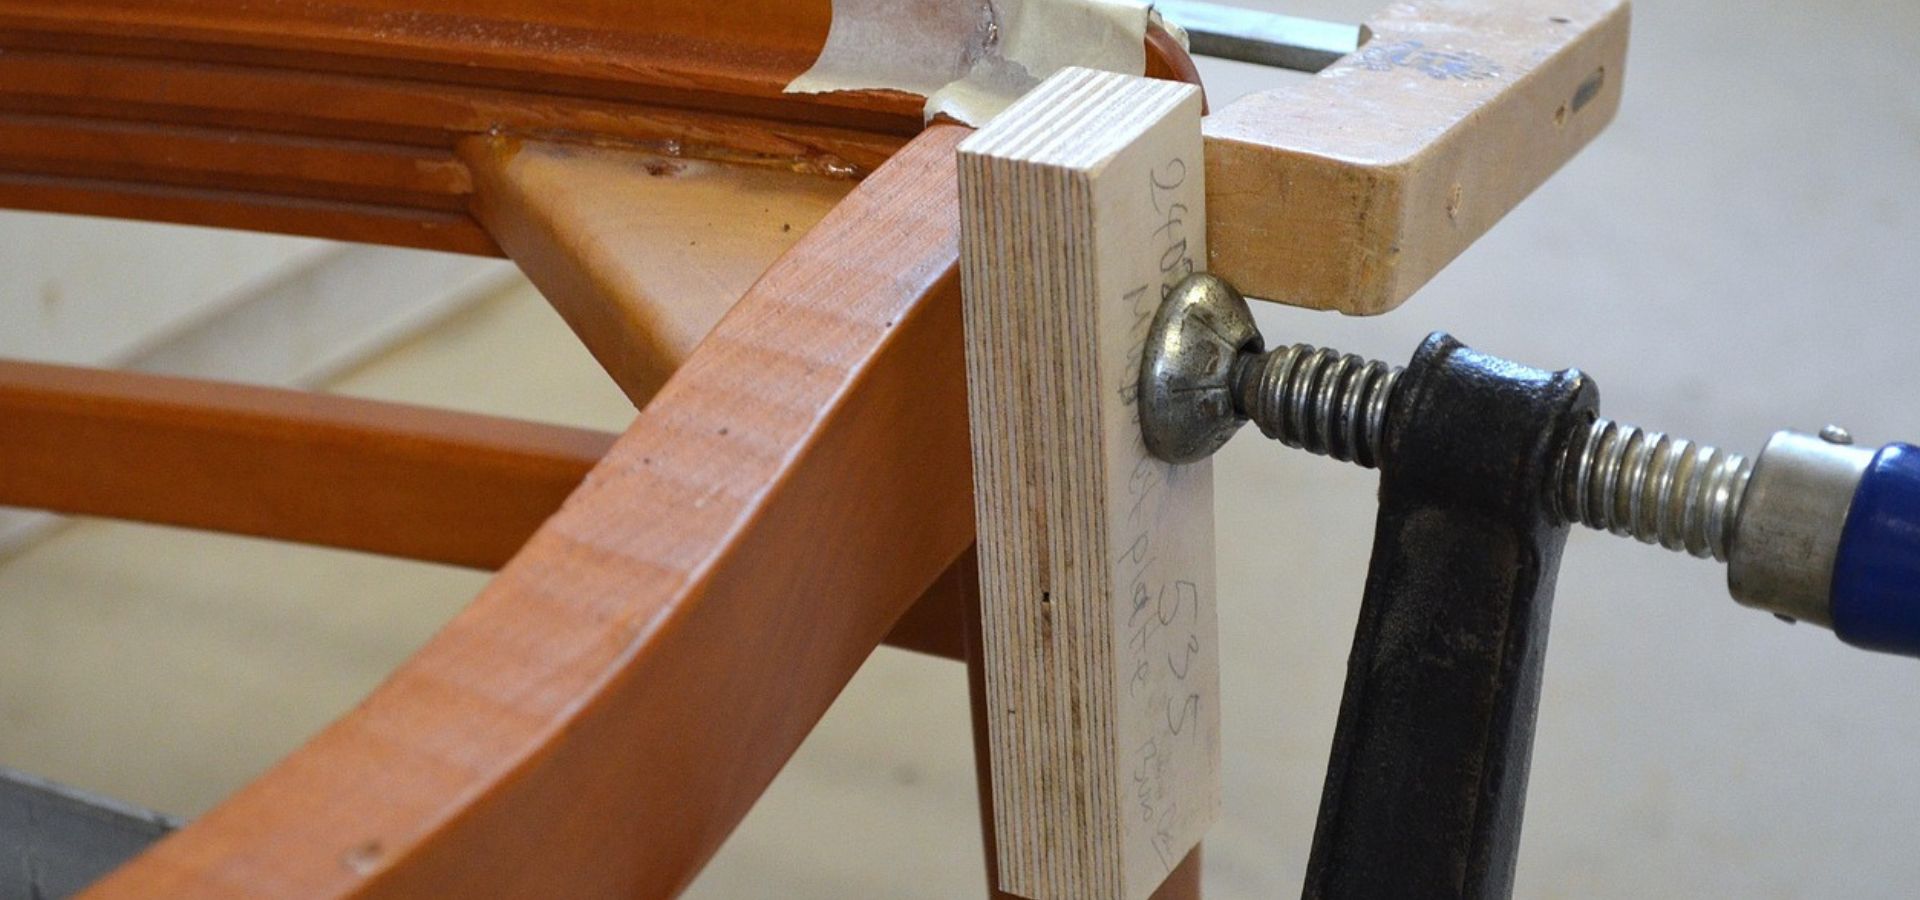
- Clamps
- Tape measure
- Orbital sander
- Level
- Hacksaw or angle grinder (optional)
- Cut the Wood
Measure carefully before cutting. Use a speed square for straight lines and accurate angles.
Cut List for a 6-Foot Table:
- (4) Tabletop slats: 2″ x 8″ x 72″
- (4) Table legs: 2″ x 6″ x 30″
- (2) Side supports: 2″ x 6″ x 68″
- (3) Tabletop braces: 2″ x 4″ x 28-3/4″
- (2) Leg braces: 2″ x 4″ x 24″
- (6) Cleats: 2″ x 4″ x 10″
Cut the wood using a circular or miter saw.
- Put the Tabletop Together
Lay the tabletop slats side by side with 1/4″ spacers between them. Clamp them in place.
Position the braces underneath the slats. Keep the outer braces 7″ from the edges and place the center brace in the middle.
Attach the braces with 3-1/2″ screws on the outer supports and 2-1/2″ screws on the center support.
- Install the Legs
Strong legs keep the table stable. Follow these steps:
- Mark a 30-degree angle at both ends of each leg.
- Clamp the legs under the table.
- Attach the legs with 3-1/2″ galvanized carriage bolts with washers and nuts.
- Drill small holes first to avoid wood splitting.
- Add Side Supports and Braces
Side supports and braces help keep the table steady.
- Measure 13-1/2″ from the bottom of each leg and mark the support placement.
- Cut the side supports at 60-degree angles on both ends.
- Drill pilot holes and attach the supports with carriage bolts.
- Install leg braces at 45-degree angles for extra support.
- Secure Cleats and Bench Supports (If Needed)
If you’re adding benches, install cleats to make them stronger:
- Position the cleats at the center of each bench slat.
- Drill pilot holes and attach them with 2-1/2″ screws.
- Secure the bench supports to the table legs with carriage bolts.
- Sand and Finish the Table
Sanding smooths the surface and improves the final look.
- Use an orbital sander or sand by hand to remove rough edges.
- Apply an exterior stain if desired for added protection.
Follow these steps to build a sturdy and stylish table. Quality materials from Truss Builder Parts will make your table strong and long-lasting. Visit Truss Builder Parts today for the best fasteners and building supplies.

